Quite possibly the best ice cream I've ever had! Yes ever....and that's a BIG claim I know, but it really is THAT good. Try it out to see for yourself!

If you'd prefer warmer sweet treats, check out my gluten free treats here!
Ingredients

- Whole Milk
- Sugar
- Gluten Free Yellow Cake Mix
- Heavy Cream
- Vanilla Extract
- Mix-ins (optional)
I personally love using raw milk for this recipe, it's full of fat which helps the ice cream and texture!
It's important to to note that you use whole milk and not 1% or even skim milk. It needs to be full fat to come out properly.
Note that heavy cream and heavy whipping cream are the exact same thing, so feel free to use either!
Instructions
For starters, make sure to check your ice cream maker's instructions, because many of them require the bowl to be frozen up to 24 hours prior to usage. The worst thing is to be ready for ice cream but then you have to wait until the following day!
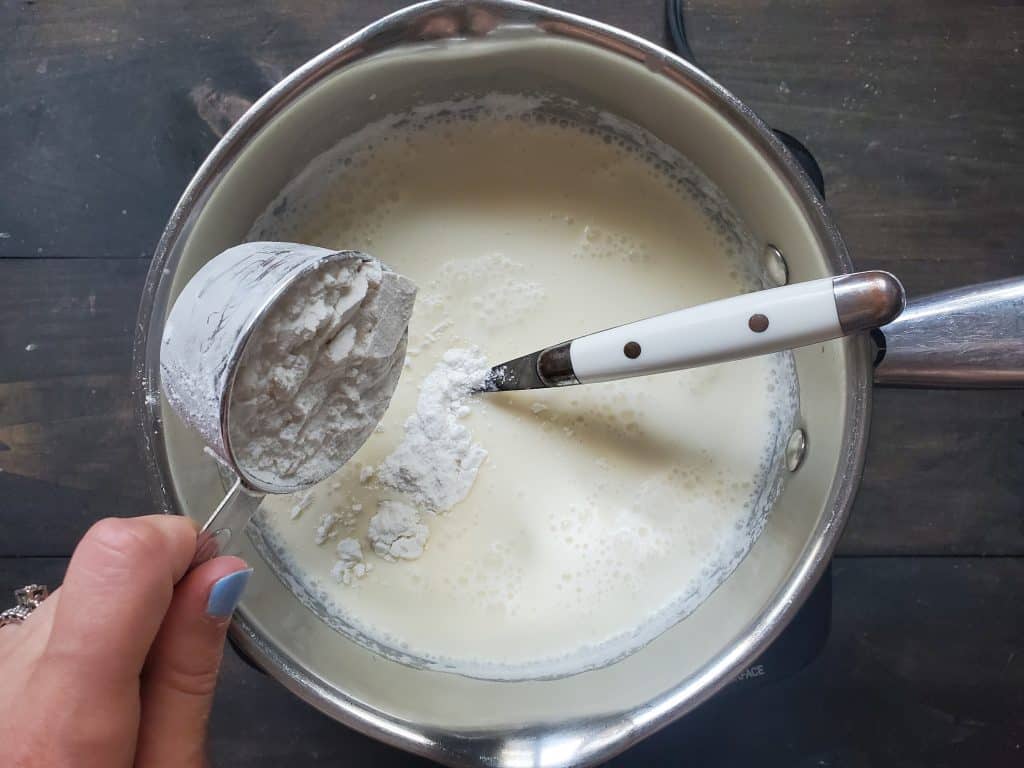
In a saucepan over medium heat, mix together the whole milk, half of the heavy cream, the cane sugar, and the cake mix. Whisk it until you can't feel the sugar and powder on the bottom, then remove it from the heat.
Place this mixture in the fridge until completely cooled. Add the rest of the heavy cream to help speed up the cooling process.
When the mixture is completely chilled, turn on the ice cream maker and follow the instructions, typically pouring it into the bowl as it churns for roughly 15-20 minutes.

In the last few minutes of it churning, add in any mix-ins to let it fully incorporate.
Either serve immediately, or place in a freezer safe container for a few hours to let it firm up a bit. Enjoy!
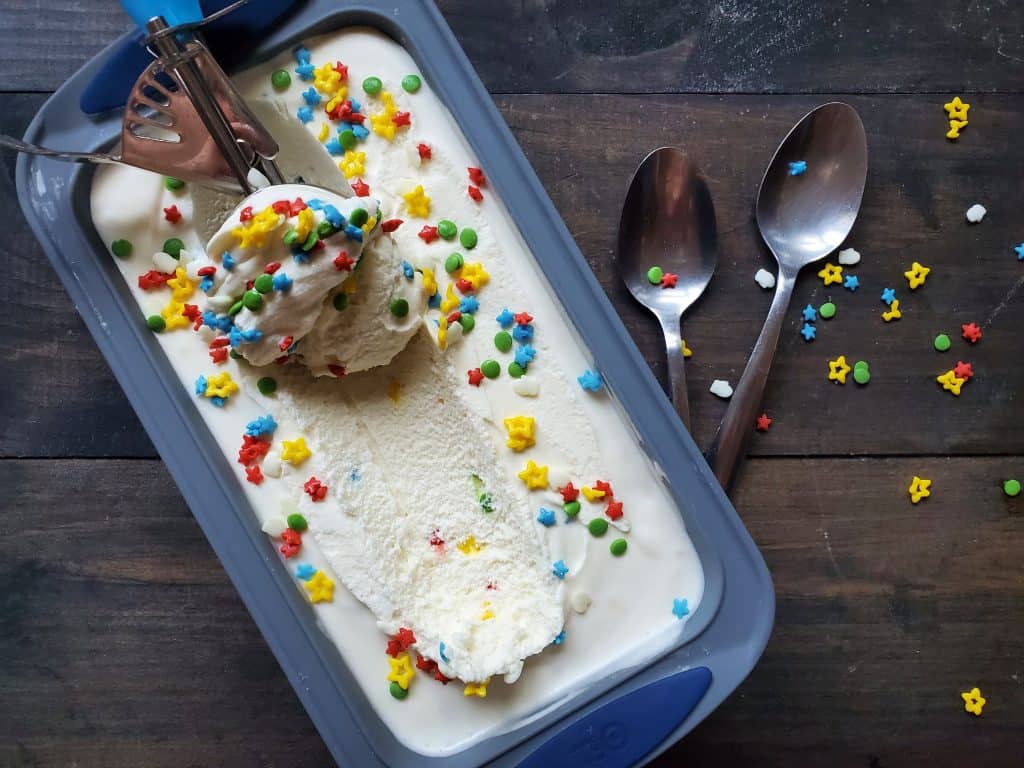
Mix-in Options
Here's where you can have a lot of fun! This ice cream tastes amazing on it's own, but mix-ins allow you to take it up a notch. Here are some ideas:
- Crumbled Cookies- I like to crush these Birthday Cake Cookies from Enjoy Life. They're gluten free so they're safe for this recipe!
- Sprinkles- Sprinkles are another great option, I like to use these healthier sprinkles that are dye free!
- Frozen Cake- This is SO yummy, if you have leftover cake, freeze it, rough chop it or crumble it and toss it in! The frosting is amazing too!
Variations
- Make this delicious chocolate brownie cake batter ice cream! It's also gluten free too.
- Leave out the cake batter and you have a delicious vanilla ice cream! Top it with this incredible lemon curd for a delicious spring time ice cream!
Equipment
The most important piece of equipment here is of course, an ice cream maker! There are generally two options, one where you need to pre-freeze the bowl, and one where you do not have to!
The price is the main difference. The pre-freeze ones are typically $100 or less, whereas the other is typically a few hundred dollars.
This is the one I have, and I love it! I do have to remember to freeze the bowl, but otherwise it's fantastic! It's very easy to use, and this batch is done in only about 20 minutes!
You also may want a freezer safe dish if you aren't serving it right away. I usually use a silicone bread pan!
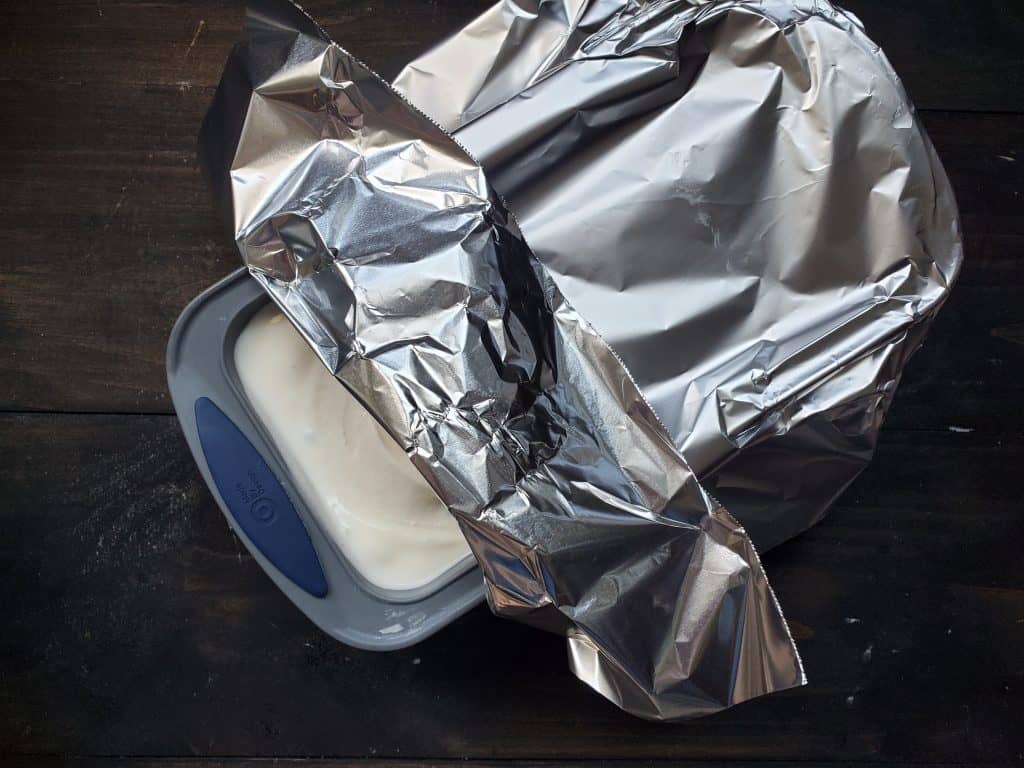
Storage
I typically store this in a silicone bread pan, as it's freezer safe and fits it perfectly!
If your pan has a lid use that, otherwise foil and/or saran wrap work very well.

Gluten Free Birthday Cake Ice Cream Recipe
Equipment
- 1 set of measuring cups
- 1 medium saucepan
- 1 whisk
- 1 ice cream maker
- 1 serving/mixing spoon
Ingredients
- 1 cup whole milk raw milk is good for the fat consistency
- ¾ cup cane sugar
- ⅔ cup gluten free cake mix King Arthur's yellow cake mix is great
- 2 cups heavy cream
- 1 teaspoon vanilla extract
- mix-ins optional, see above for ideas
Instructions
- In a medium sauce pan, whisk together the whole milk, sugar, cake mix, and the heavy cream.
- Whisk the mixture and heat until dissolved, don't let it boil. You'll know it's done when you don't feel the sugar and cake mix against the bottom of the pan while whisking. Remove from heat.
- Place the mixture in the fridge until completely chilled. You can also place it in a chilled container to speed it up.
- When the mixture is completely chilled, turn on the ice cream maker and follow the instructions to make ice cream
- In the last few minutes until the ice cream finishes, add in any mix-ins.
- Either serve immediately, or place in a freezer safe container and place in the freezer for a few hours until firmer. Enjoy!
If you made this recipe or have any questions about it, let me know in the comments below!
Feel free to share a picture of it and tag me on Instagram @thecleanhappylife!
No links in this post are sponsored.


Leave a Reply