
This Gluten Free Blueberry Cobbler recipe is made with fresh or frozen blueberries sweetened with coconut sugar and topped with a delicious cobbler crust! Make it all summer long!
I'm also in love with my other summertime treats, such as my Gluten Free Strawberry Crisp and my Paleo Peach Cobbler!

Bringing this to a summer cookout? You'll also need to bring my Dill Pickle Pasta Salad, Mexican Street Corn Pasta Salad, or my Raspberry Kale Salad!
🔍 Quick Look: Gluten Free Blueberry Cobbler
- ⏱️ Prep Time: 20 minutes
- 🍳 Cook Time: 35 minutes
- 🕒 Total Time: 55 minutes
- 👥 Servings: 8
- 📊 Calories: ~261
- 🔥 Cook Method: Oven
- 👩🍳 Main Ingredients: Blueberries, Cassava Flour
- ⭐ Difficulty: Easy
SUMMARIZE & SAVE THIS CONTENT ON:
Jump to:
Ingredients Needed

- Blueberries-I use fresh blueberries for convenience, but I've tried this with both frozen and fresh blueberries and it comes out great either way! If you have extra fresh blueberries, make my Blueberry Mocktail!
- Coconut Sugar-this is a lower glycemic sugar than cane sugar and it keeps this recipe paleo! I use some coconut sugar in my Gluten Free Ramen recipe!
- Cassava Flour-I've tried a variety of brands of cassava flour and I've found they all are a little different. My baked goods will have slightly different textures. I love using Terrasoul and you can buy it from their site or from Amazon!
- Palm Shortening-I always look for one that's sustainably sourced and preferably organic too.
See the recipe card below for details!
Substitutions and Variations
- Instead of Cassava Flour, try All Purpose Gluten Free Flour! As written this is a paleo blueberry cobbler, but using all purpose gluten free flour will keep it gluten free even with some grains!
- You can also use coconut milk instead of the almond milk.
- If you don't need to keep it paleo but just gluten free, you could also use oat milk or rice milk.
- To make it egg free, try a chia or flax egg. It's simple to make. For a flax egg, mix 1 Tbsp. flax with 2.5 Tbsp. water. For a chia egg, mix 1 Tbsp. chia with 3 Tbsp. water.
- If you want to make it with fresh berries, decrease the tapioca flour. You still want it syrupy and thick, but too much tapioca flour will make the paleo berry cobbler too gooey, in a bad way!
How to Make Gluten Free Blueberry Cobbler
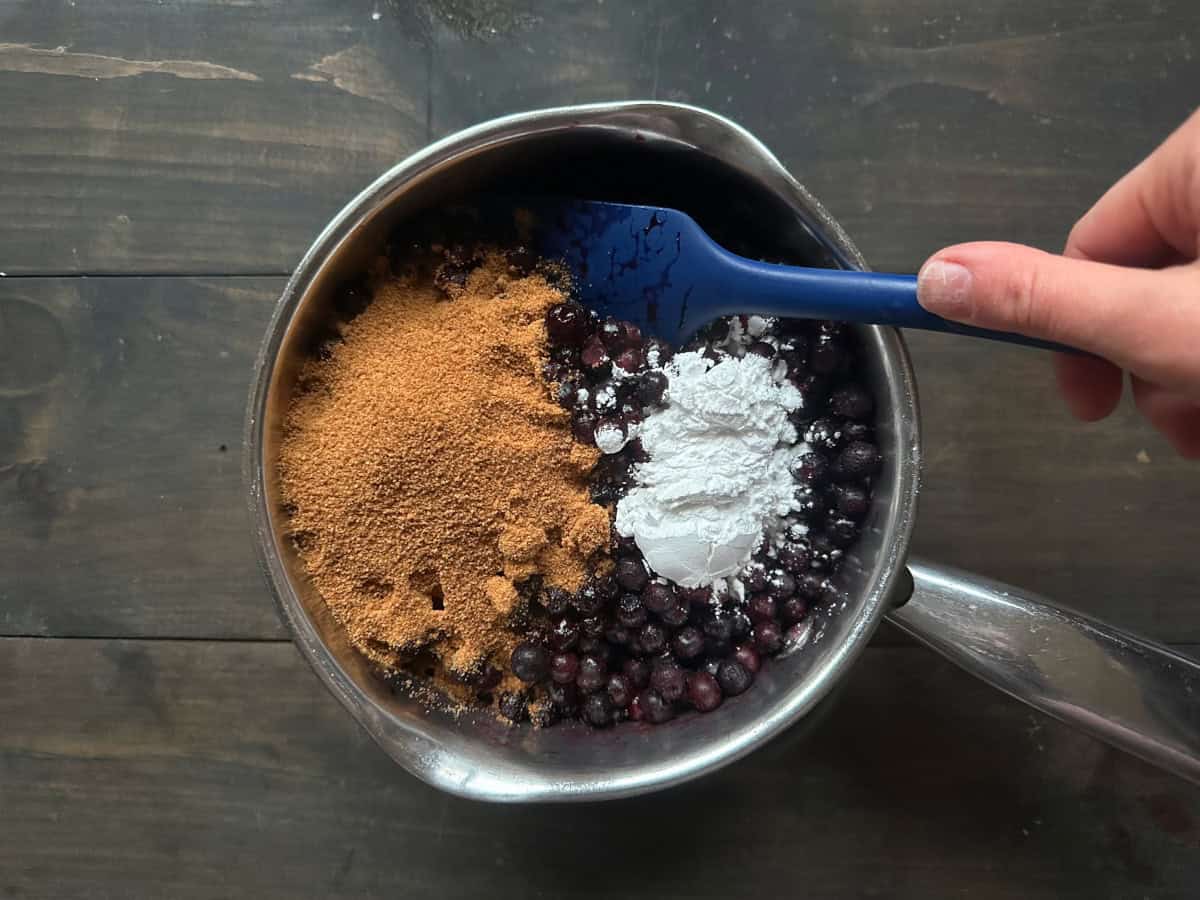
- Step 1: Place the blueberries, tapioca flour, and coconut sugar in a medium saucepan over medium heat. Stir frequently, allowing the blueberries to thaw and a thick syrup to form. Once everything is thawed and the syrup just starts bubbling, it's done. Set aside.
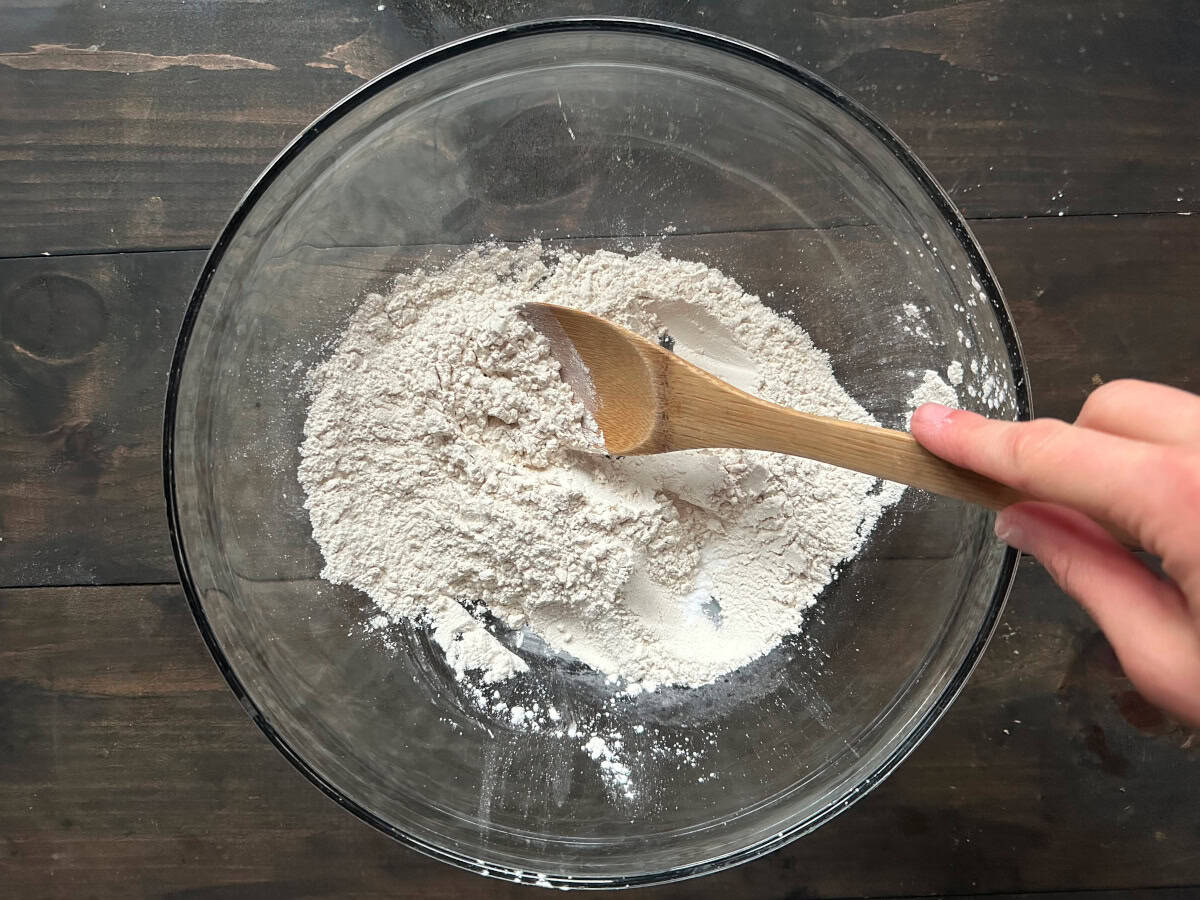
- Step 2: Meanwhile, mix the dry ingredients together in a large mixing bowl.
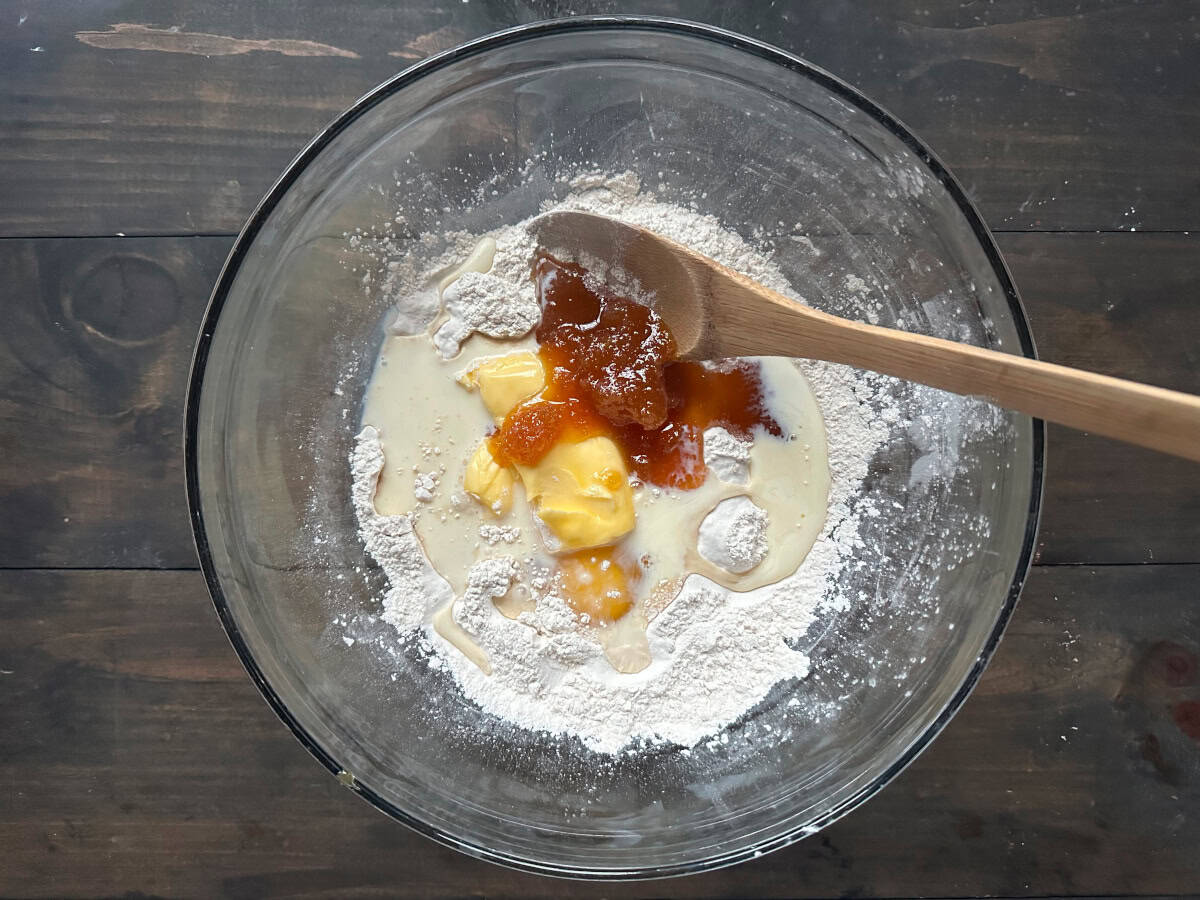
- Step 3: Add the wet ingredients into the dry, and mix until just mixed. While every cassava flour brand can yield a different texture, you basically want a dough like mixture.
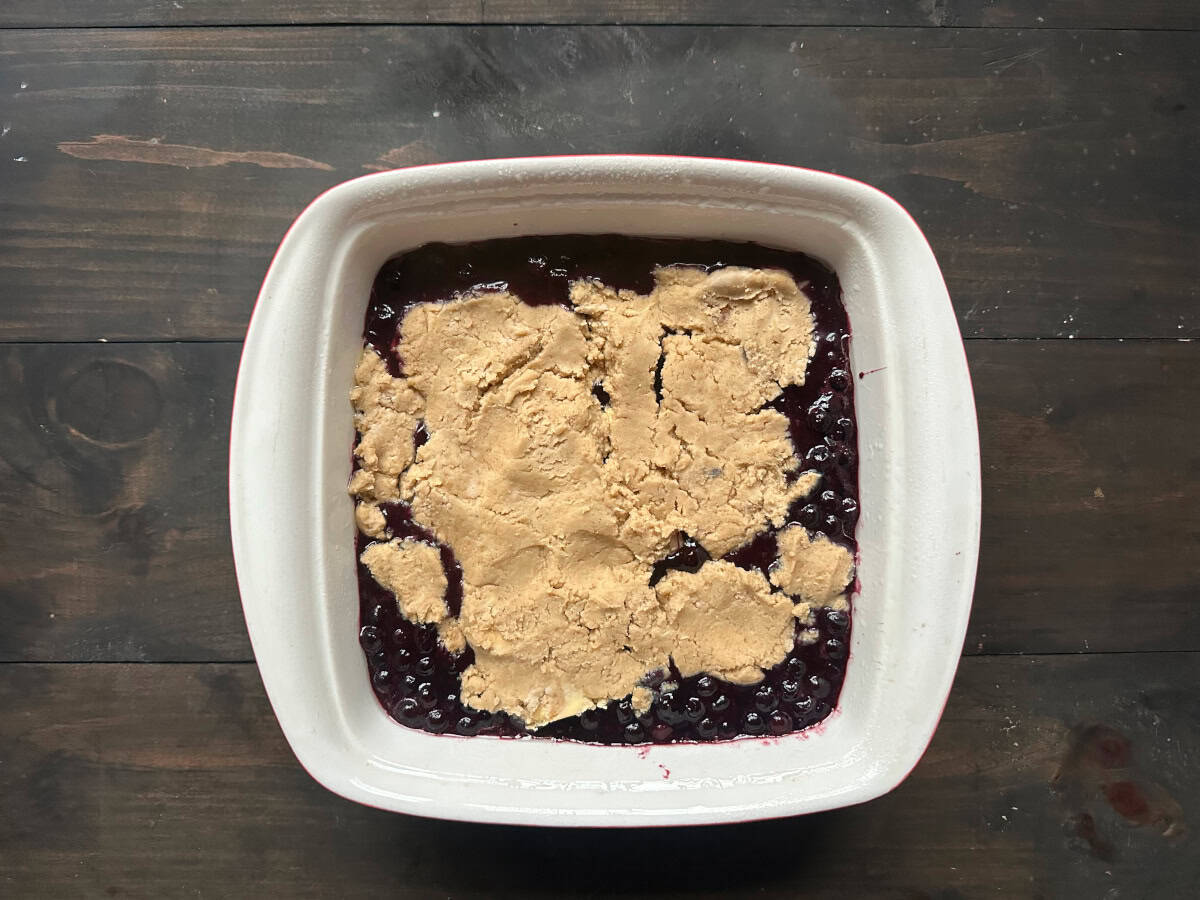
- Step 4: Place the blueberry mixture into a greased baking dish and use your hands to spread pieces of the dough on top. It doesn't need to be all covered, just keep the thickness as even as possible. Place it into an oven pre-heated to 350F and bake for 35-40 minutes.
Top Tips for making Paleo Blueberry Cobbler
- When making the filling, be sure to stir frequently! If you leave it and walk away, it will stick to the bottom of the pan and burn, ruining the flavor and filling as a whole.
- When mixing the wet into the dry ingredients for the topping, only stir until it's JUST mixed. If you over mix it, the topping will be come out too hard.
Gluten Free Blueberry Cobbler FAQ's
Yes you can! I only recommend making it a max of 1 or 2 days ahead of time. To reheat the entire cobbler, cover it with foil and place it in the oven on a lower temperature of 250F degrees to let it heat evenly without the fruit getting too hot.
Yes, you can use fresh or frozen blueberries for this cobbler! The recipe is written for frozen blueberries, but for fresh you'll need to adjust the flour quantity (see above).
Yes, you can leave blueberry cobbler out overnight! It will typically be safe to do so for 1 night. However to be safe, especially if it's very hot out, then place it in the fridge in an airtight container.
Suggested Serving Options

If you tried this Gluten Free Blueberry Cobbler recipe or any other recipe on my blog, please leave a 🌟 star rating and let me know how it went in the comments below!

Gluten Free Blueberry Cobbler
Equipment
- 1 8x8 baking dish
- 1 set of measuring cups
- 1 set of measuring spoons
- 1 medium saucepan
- 2 mixing spoons
Ingredients
Filling
- 5 cups frozen blueberries to use fresh, see substitution notes above
- ½ cup coconut sugar
- 2 tablespoon tapioca flour
Topping
- 1 cup cassava flour
- ⅛ teaspoon salt
- ½ teaspoon baking soda
- ⅓ cup palm shortening
- ¼ cup honey
- 1 egg
- ¼ cup almond milk
Instructions
- Grease an 8x8 baking dish and set aside. Preheat oven to 350F degrees.
- Place the mixed berries in a medium saucepan over medium heat. Add the sugar and tapioca flour and mix thoroughly. Stir frequently as the berries thaw. Once it bubbles, let it simmer for about 3 minutes to thicken while stirring. Remove from heat and set aside.
- Mix together remaining dry ingredients for toppings. Add the wet ingredients to the dry, and mix until just combined.
- Pour the berry mixture into the greased dish. Top with the dough, and spread it evenly to cover.
- Bake for 35-40 minutes until a knife comes out clean from the topping.
Notes
- Fresh blueberries work just fine here! See the swaps and substitutions above to adjust the flour accordingly.
- This is absolutely delicious served with homemade whipped cream or vanilla ice cream!

Lenora says
Yes this looks so amazing. Would definitely have it was a side of ice cream. Will save to try this out.
Rachel Rivera says
Oh yes! Sooo delicious with some nice vanilla ice cream. Yum!
Cassie Webber says
Wow, I am drooling! This looks delicious!! I will definitely be making this and once I get the recipe down this looks awesome to bring to a get together!
thecleanhappylife says
Oh yay!!! Yes I've brought the peach version to get togethers and it was such a hit! Once covid lets us have more gatherings I'll be bringing this too!! I hope you enjoy 🙂
Karthika says
Wow. I simply loved your recipe. Would love to try it very soon . Thanks for sharing
thecleanhappylife says
Thank you! I hope you enjoy it 🙂
Lily says
Looks rich and delicious, thanks for sharing!
thecleanhappylife says
Thank you, it's so yummy!!
Stella says
I just have to say that I love the way this is written. To the point and straight to recipe and then some more useful information at the end.
The recipe looks delicious, it is well explained so I may even attempt it myself!
thecleanhappylife says
Aww thank you! That makes me happy to hear. I'm so glad you found it useful and I hope you try it! 🙂